How to Size a Rigid Box: Measuring, Clearance and Inserts
Measuring your product, the clearance a rigid box needs, and how inserts change the inside size.
Why a rigid box has to be sized exactly
A folding carton forgives a loose fit, because its walls bend. Greyboard does not bend, so a rigid box is either right or visibly wrong.
Too tight and the product scuffs the wrap on the way in, or the lid will not close flat. Too loose and the item slides, knocks the walls and arrives with marks.
The good news is that sizing comes down to three numbers: the product, the clearance and the board. Get those right and the rest follows.
Most sizing problems start with a figure rounded to the nearest centimetre. With 2 mm walls, a 4 mm rounding error can turn a snug fit into a box that will not close.
How do I measure my product for a rigid box?
Measure the real item, not the spec sheet. Caps, pumps, clasps and swing tags all add millimetres that a drawing leaves out.
If you have a box you already like, measure its inside too. It gives us a second reference when we draw the dieline.
Soft items are harder. Fold a garment exactly as it will be packed, press it lightly flat, then measure the folded stack rather than the garment.
- Lay the product on a flat surface and measure length, width and height at the widest points.
- Use a steel rule or digital calipers, and write each figure in millimetres, not centimetres.
- Include anything that travels with it: a pouch, a dust bag, a folded card or tissue.
- Measure three samples from the same batch and keep the largest figure on each side.
- Note the weight in grams, because heavy items may need thicker board or an insert.
- Write the sizes as length x width x height, always in that order.
How much clearance does a rigid box need?
Clearance is the gap between product and wall. It depends on what the item is and whether an insert holds it.
| Contents | Clearance per side | Why |
|---|---|---|
| Loose solid item, no insert | 2 to 3 mm | Enough to lift it out without a rattle |
| Item held in an insert | 1 mm around the insert | The insert does the gripping |
| Folded clothing in tissue | 5 to 10 mm | Tissue and folds need room to settle |
| Drawer tray inside its sleeve | About 0.5 mm per side | Slides freely without dropping out |
| Lift-off lid over its base | 0.5 to 0.75 mm per side | Lifts off cleanly with a light draw |
| Round item in a tube box | 1.5 to 2 mm on the radius | Slips in without scraping the wrap |
Height needs its own allowance. Add 2 to 3 mm above the tallest point so the lid does not press on the product.
Inside size, outside size and the board between
Your measurements give the inside size. The outside is larger by twice the wall, and the wall is board plus wrap.
With 2 mm greyboard and a 0.3 mm wrap, each wall adds about 2.3 mm. A base with an inside of 100 x 100 x 50 mm comes out at about 104.6 x 104.6 mm outside.
Thicker board changes the sum. At 3 mm greyboard, each wall adds about 3.3 mm, so the same base grows to roughly 106.6 mm outside.
A lift-off lid then sits over that base. Its inside is about 105.6 mm, and its outside close to 110 mm.
This is why we always ask for inside sizes. Two suppliers quoting the same outside size can give you different room inside.
How do inserts change the inside size?
An insert takes space from the box, so the box grows around it. Size the product into the insert first, then the insert into the box.
Take a foam insert with a 25 mm cavity. It usually needs 5 to 10 mm of foam below and 10 mm or more around it. That alone adds 20 mm to the width of the box.
Satin-lined pads sit somewhere between the two. A padded jewellery bed is often 10 to 15 mm thick, and the pad itself takes up some height.
Card platforms are thinner, often a wrapped board 2 to 3 mm thick on folded legs. The rigid boxes with fitted inserts show how much room each type takes.
Lid depth and how far the lid comes down
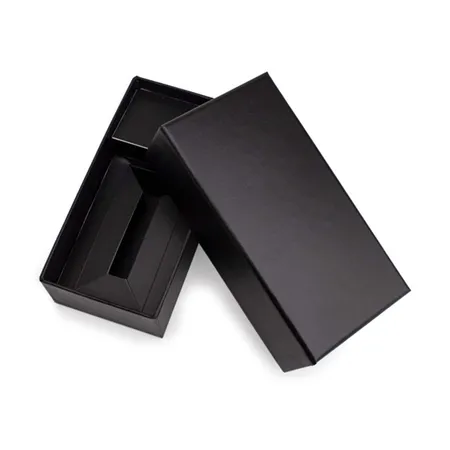
On a lid and base box, the lid depth changes both look and grip. A full-depth lid matches the base height and hides it completely.
A part lid ends 20 to 30 mm short of the table. It is easier to lift, and the band of base below can carry a second colour.
If the lid fits very closely, add a thumb notch, a half-moon cut about 20 mm wide in the base wall. The lift-off lid boxes in full or part depth show both versions.
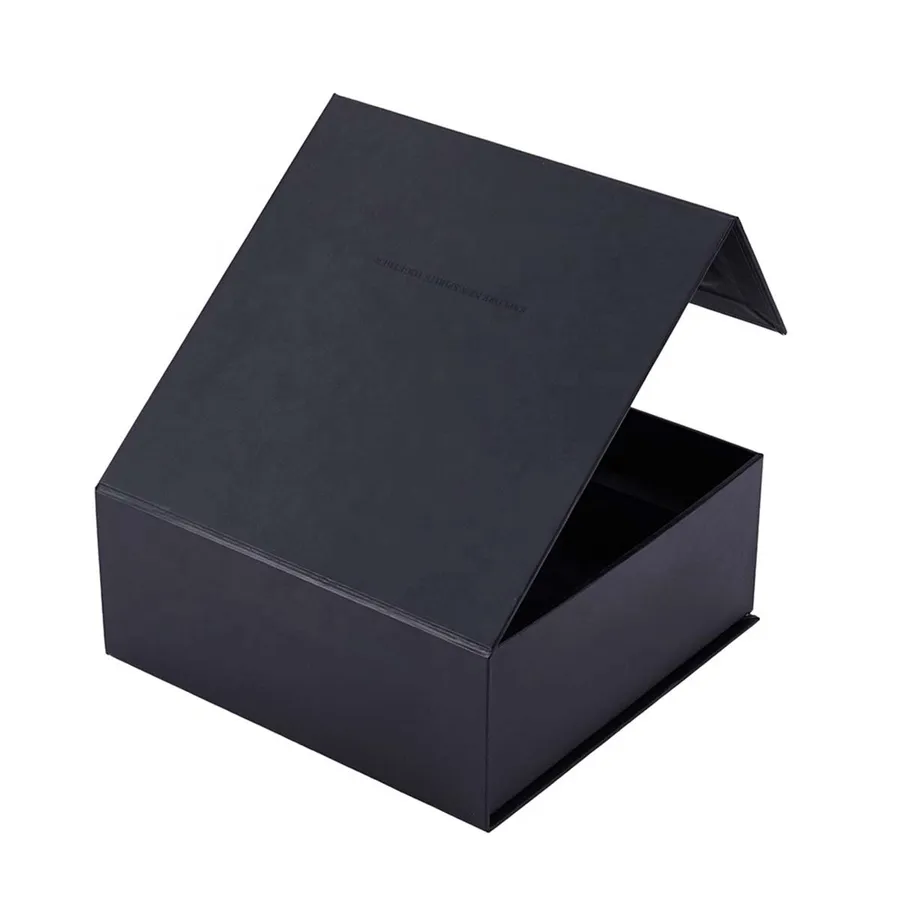
On a magnetic box, the flap depth plays the same role. A flap that runs about two thirds of the way down the front wall closes neatly and hides the magnets.
Sizing a box for a set of several items
Sets add space between items as well as around them. Fingers need room to lift each piece out.
Keep roughly 8 to 10 mm of material separating one cavity from the next. Lay the pieces out on paper at full size and draw round them before deciding the box size.
A layout drawn at full size also shows whether the set looks balanced from above, which is how the recipient first sees it.
- Put the heaviest piece in the centre so the box balances when carried.
- Keep tall items to one side and flat items like cards on top or under a lid flap.
- Allow 15 to 20 mm at one edge for a ribbon pull or a finger notch.
- Check that the closed height clears the tallest item by 2 to 3 mm.
- Stand the set upright on a table to see what tips before you send sizes.
Typical sizes for common products
These are starting points, not stock sizes. Every box is still made to your own measurements.
A pair of earrings often fits about 60 x 60 x 30 mm inside, and a bangle about 90 x 90 x 40 mm. A watch on a cushion usually needs about 100 x 90 x 70 mm. A folded shirt often fits about 300 x 230 x 50 mm.
For pieces like these, our jewellery and watch box range lists each style with its usual inside size.
Leaving room for the outer shipping carton
Your rigid box size also sets the size of the carton it travels in. Plan both at the same time, not after the boxes arrive.
Allow 5 to 10 mm on every side of the rigid box for paper fill. A box of 200 x 150 x 80 mm outside wants a shipper of about 215 x 165 x 95 mm inside.
Corners take the hardest knocks in a parcel. A little fill at each corner protects the wrap far better than a tight carton that presses on the edges.
What should I check on the proof before approving?
The free proof shows the box drawn flat with every panel measured. Check the inside size against your own figures before you look at artwork.
Then check that lid depth, insert cavity size and any notch sit where you expect. A 2 mm error on paper is a product that will not fit.
Unsure? Send one sample of the product with your rigid box quote request and we size it from the real thing.